Video Tutorial
How to Use Content Studio
Content Studio is a Premiere Pro–style, multi-track video editor that runs entirely in your browser. Upload video and audio, arrange them on a timeline, layer and mix tracks, add effects, and export a finished MP4 — no software to install. This guide walks through the whole workflow.
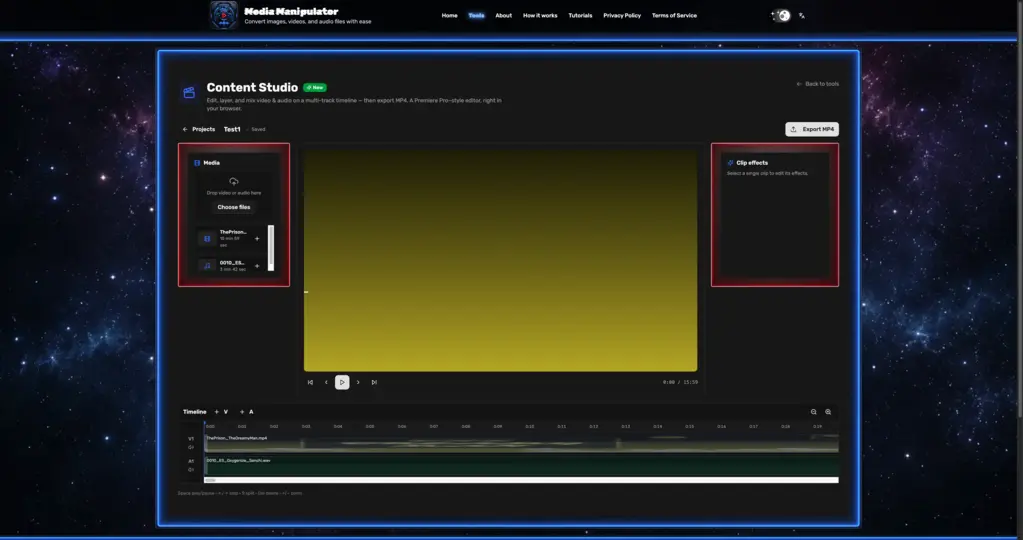
1. Create a project
Open Content Studio from the Tools page or the home page banner, then choose “New project”. Pick a name, a target resolution (1080p, 720p, 4K, or vertical 1080×1920) and a frame rate (24, 30, or 60 fps). These define the canvas your timeline renders to on export. Your recent projects appear next to the form so you can jump back into earlier edits.
2. Add your media
Drag video or audio files into the Media box, or click “Choose files”. Each upload is analyzed and given a smooth 720p preview proxy plus a filmstrip — you’ll see a brief “building preview” state while that happens. Both video (mp4, mov, webm, mkv, …) and audio (mp3, wav, m4a, aac, ogg, flac) are supported, and you can add as many files as you like.
3. Build your timeline
Put clips on the timeline either by clicking the + on a media tile (it’s appended to the first matching track) or by dragging a media tile straight onto the track you want. From there you can rearrange everything:
- Add more tracks with the +V / +A buttons — stack multiple video tracks for overlays and multiple audio tracks for music and voiceover.
- Drag a clip along its track to reposition it, or drop it onto another track of the same kind (video→video, audio→audio). Clips snap to neighbouring edges and the playhead and never overlap.
- Drag either edge of a clip to trim its in/out point.
- Move the playhead and press S to split (razor) the clip(s) under it.
- Select a clip and use Ripple delete to remove it and close the gap. Mute a whole track with the speaker icon, or set a clip’s volume with the slider.
4. Add effects
Select a single clip to open the Clip effects panel on the right. From there you can apply a cross-dissolve, color adjustments, and text/location overlays — all previewed live and baked into the final export.
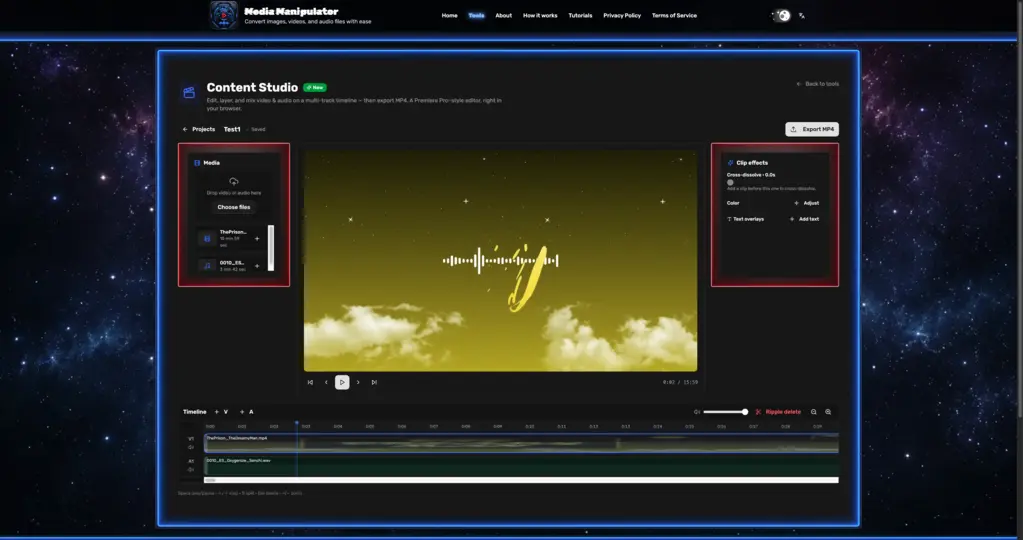
Color adjustments
Click “Adjust” under Color, then tune Brightness, Contrast, and Saturation. The preview updates instantly (for example, drop saturation to zero for a black-and-white look). “Reset” removes the adjustment.
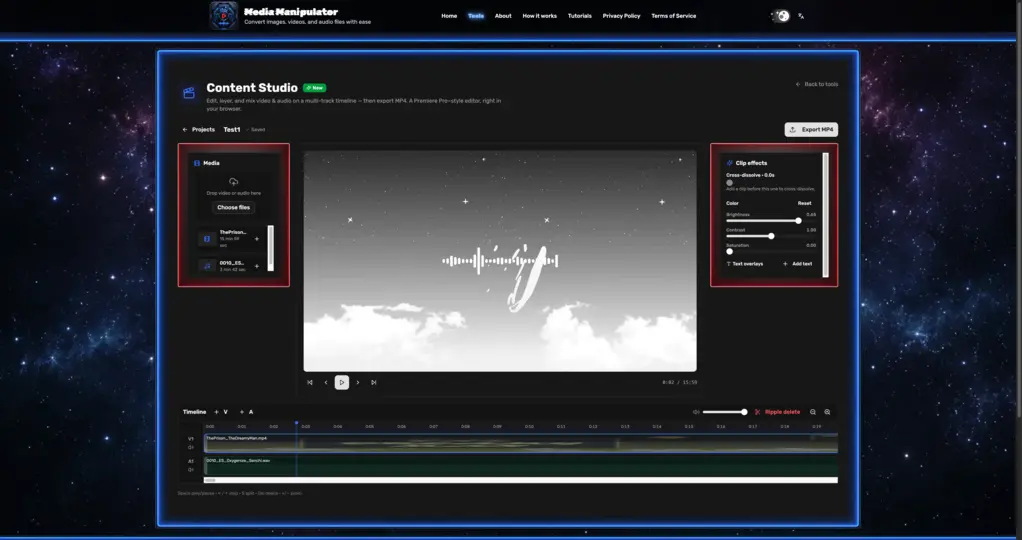
Text & location overlays
Click “Add text” to drop a label onto the clip — type your text, pick a color, and position it with the X/Y sliders and size it to taste. Overlays are great for titles or location labels over drone footage and are drawn directly into the exported video.
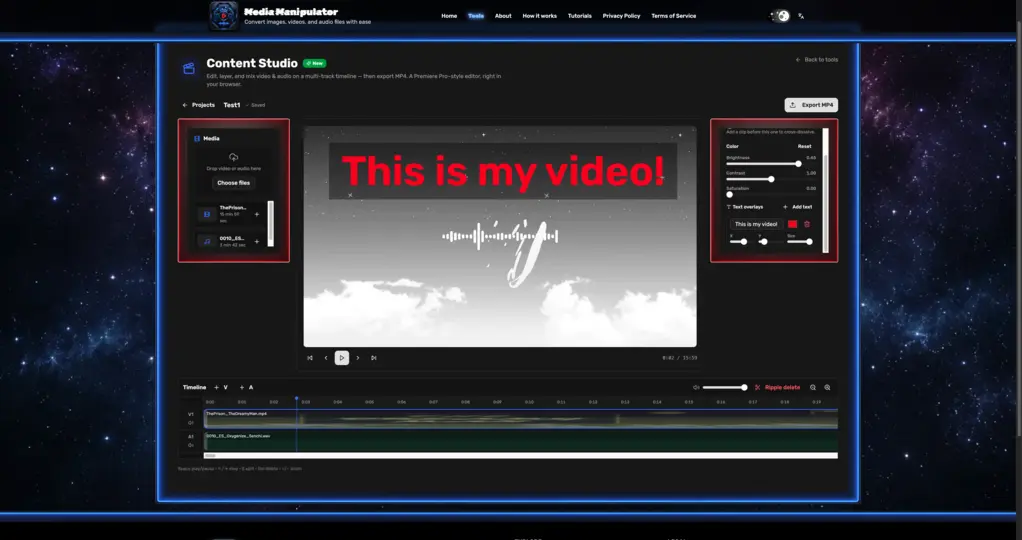
Cross-dissolves
With a clip that has another clip before it on the same track selected, drag the Cross-dissolve slider — the clip slides back to overlap its neighbour and the two blend over that duration, with the audio crossfading to match.
5. Preview your edit
Use the transport controls under the preview to play/pause, step a frame at a time, or jump to the start/end. Drag on the timeline ruler to scrub — drag to the edge and the timeline auto-scrolls so you can reach any point. During playback the view follows the playhead automatically.
6. Export to MP4
Click “Export MP4”, choose a file name and quality, and Content Studio renders your full timeline on the server — compositing video tracks, mixing audio, and applying your effects — then gives you a download link. Rendering happens on a GPU, so larger projects finish quickly.
Keyboard shortcuts
Space play/pause · ← / → step one frame · S split at playhead · Delete ripple-delete the selection · + / − zoom the timeline.